Welcome to my first tutorial...
First up - a pic of the little flowers I have done so far. In honor of Exuberant Color I'll tell you that I found these rows (while cleaning - a lie!) that were previously made, and decided they would be perfect for the up coming Open House at our Project Linus coordinator's home in May. The quilts to be made for that day's challenge are to be pastel with a neutral - perfect, right?
Four rows of four with spacing white in between. I'm making another row, so the quilt will end up the right shape... otherwise it'd be a square, and I prefer a rectangle.

You get a little view of the other project on the design wall - the stars and trees are still up there. I've gotten bored with them, so turned my time to some boobs (not yet photographed) and these little flowers. Here is where the tutorial starts.

Above is the pattern, on copier paper. You need 4 of each of these to make one flower. I know it's kind of blurry - sorry. #1 is the first space to use - (are we learning anything yet?) Put the petal color onto the other side with the pretty side out....NOT towards the paper. I like to pin #1 onto the paper so I have hands free to align #2.


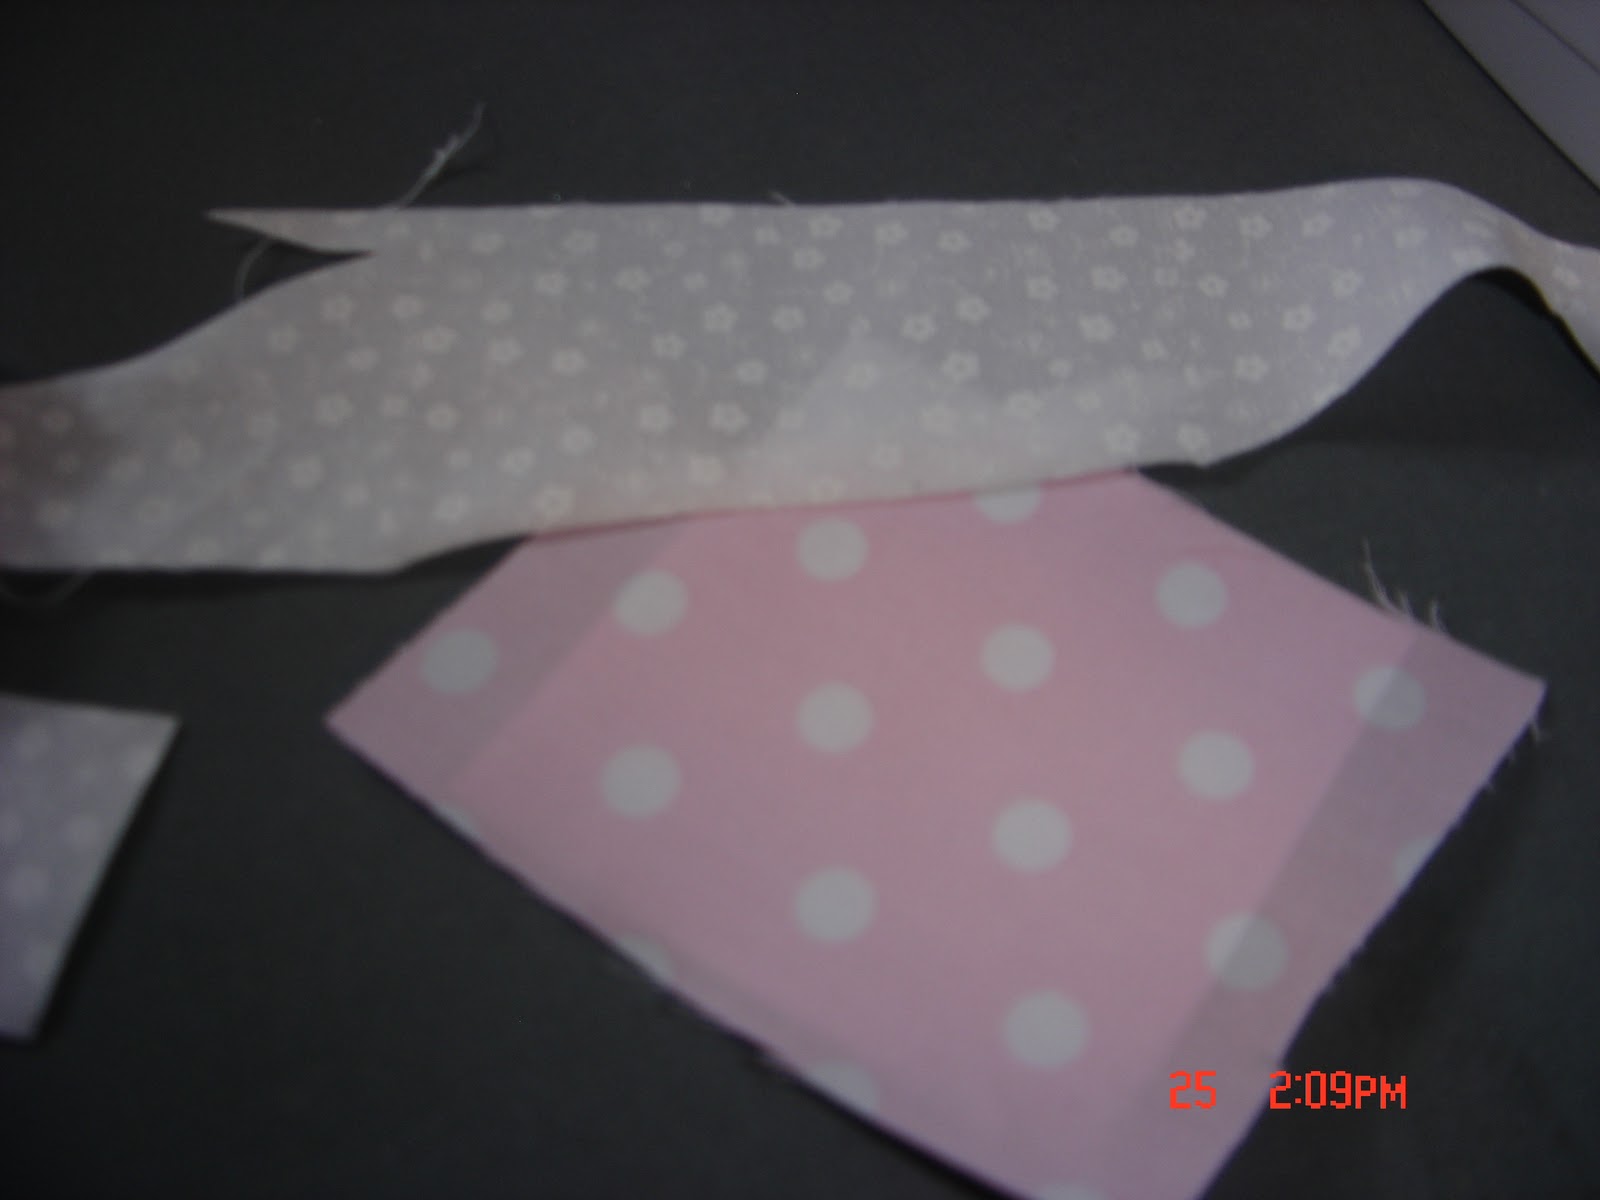 Now flip the new piece up and press it out to cover the paper.
  Flip it over to the paper side, and trim away all the excess - use the cutting line on the paper for a nice clean edge.
 Do the same on all the other spots on the pattern... in this case #3 and #4.

Tomorrow I will show you how I put the 4 pieces together to make the flower. I'm quite proud of the technique I use, which does not rely on a perfect 1/4 inch.

I got these car liter bags from my hobby, he works for Yellow Book. Pinned to the ironing board next to the sewing machine, they are the perfect place for snippets and threads. I really am trying to keep the environment cleaner and picked up.
Sew until tomorrow...
<3s to you all!
Terri