Pages

Friends

Thursday, March 17, 2011

Not my Grandpa!

Okay, this one is more personal.  To all my Grandkids, and you know who you are.  This is YOUR Grandpa on St. Paddy's Day wearing green - he's not Irish, by the way.


See the green he is displaying?  It's a fabric strip out of one of my scrap bags and it is taped to his wrist.  Not my idea... So if your Mom says you are crazy.......

Love you,
Grammy

Thursday, March 3, 2011

I am a Genius!

Hi Friends,
I have a new concept to share!!!!!  Couple of days ago I was sewing a row of blocks together - lots of seams to match and lots of seam allowances to get into the foot and make a mess... How could I have a better sewing experience?  I used a piece of paper on the top of the seam - lined up with the edge and sewed it into the seam like it was a third piece.  You cannot imagine how much easier the seam went together!.  (Sorry for shouting, but I'm really excited about this.) Not once did the foot catch  or pinch the fabric that would have been sticking up.  And the paper made it easier to go over the pins!   (Sorry for your ears!) You just tear away the paper after sewing, just like you were paper piecing.  It worked great! I did sew slowly, and very smoothly! Try it, you'll like it!!! (Please remember to sew responsibly and  recycle the paper.)

 On another front:
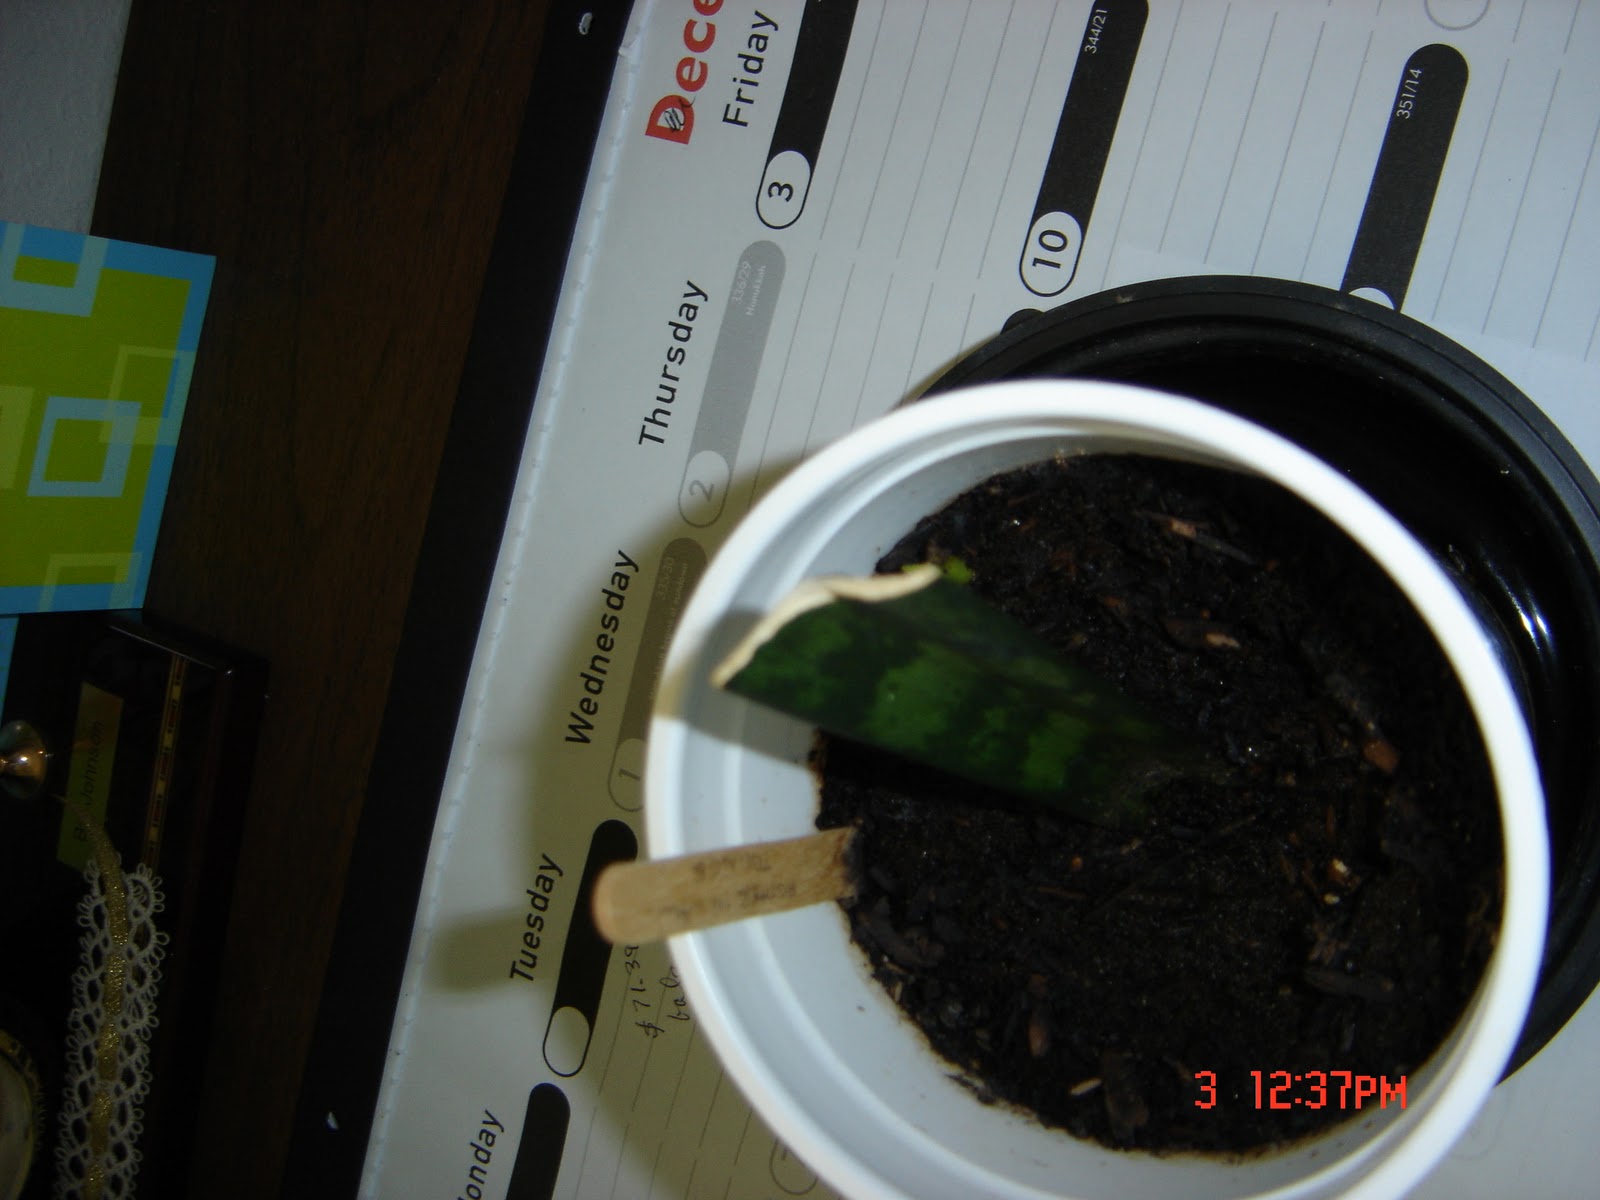
 You can't see the sprout real well on this picture, but on the next there is a nice new sprout.  Two new Mother In Law Tongues... Its like new babies at our house. That tiny light green spec behind the cutting is the sprout.  I know you are saying "How can she get so excited over such a little thing?"  Well, I'll tell you the cuttings were started last summer and took this long to sprout.  I made them up for Halloween.

See the little one?  So pretty!  And outside my dirty windows and through the screen you can see tangerines still on the tree.  Tonnage has been picked, and given away or made into juice.
We finally transplanted the Silk Oak.  It's now out on the lawn in it's new pot. I expect it will do really well this summer. (Behind on the right is my youngest (8 year old) avocado and on the left is a pineapple guava.  Has the most beautiful blossoms.  I'll show pics when they come out.
Oh, and I am further excited that I have a blooming Mother In Law Tongue to show you!  The mother plant has 2 stalks of flowers that are just starting to open.


Above is the whole plant.  It is about 5 ft tall now and I have been growing it for decades, but it is only about 5 years in this pot. I put 2 or three different kinds in the same pot and they filled it in quite quickly.

So that does it for me today.  If I don't get back here before... Have a wonderful weekend!
Terri

Monday, February 28, 2011

The rest of the story...

Here is the rest of the paper piecing tutorial. I hope it helps you figure out your directions. If you have any questions, please leave a comment, and I'll try to take a better picture, or explain it better.

On with the show....

 When we last left our little flower it was in four pieces.  Lay the flower (or whatever pattern you are making) out so you can see that the pattern is correct, then decide where to make the first seams. (Most patterns will tell you what piece gets sewn to which other piece.) In this case fold them over each other so you have two piles... two seams to sew. Next picture....
Here they are ready to be pinned at the tops. (Notice they are fabric to fabric.... I know, but I made the error when I first started, so I thought I'd mention it.)

 Here is how I pin it. At identical spots - the corner is a good spot, I use pins at the ends going through the ends of the paper-fabric-fabric-paper so that the pin only goes straight through and then give a little tug on the pins - (hold the top and bottom so they don't come out) careful not to pull them out, and then pin another straight through to the back at a point near the center. They should all stand fairly straight up, and go through their corresponding points on the back.  Next pic....

 See how they stand up? Now you will need more pins to hold it all in place so you can sew on the machine. Next pic...
 Here I have added the horizontal pins that hold during sewing. Remove the pins that are standing up and go to the sewing machine.
Sew carefully up to a pin, and remove it, or sew very carefully over the pins like I did. Remember to back stitch before the line and after.  Take out the pins, press the seams, one up and the other down and match them up to the other stack after you've sewn and pressed . .
Here are the 2 packets sewn and pressed and ready to sew together. Now do the same pinning we did above. Match that center seam first, as best you can...

 Here it is all done.  On this pattern I press the last seam open for less bulk.  No centers on these flowers, but if you want centers draft them in at the start. Make sure they don't come right to the other seams, and don't have them come to the same spot on each piece or you will have bulky seams to contend with.  You could sew a yoyo in the center either face up or down to be the center... lots of choices there. Cut on the cutting line so the outside seam allowance is 1/4 inch all around and then remove the paper so sewing on the joining strips will be easier.


Here's one in yellow that has some green instead of white.  You can add the green at any of the triangle pieces to represent leaves.
 Here's one in a very pale blue. (This is the first piecing I've ever done in pale colors.  Usually I like the jewel tones to work with, but I really like the look of a pale colored quilt.  I especially like the quilts that combine the two intensities - pale and jewel.  You learn these things about yourself at quilt shows!)
Here's one in the palest lavender that I have. ( You may notice on this piece that I have used different white on white prints with the flowers, and I have a totally different one for the strips between the blocks.  Gives the whole thing more texture...)
Well, that does it for this tutorial... I know most of you know this stuff already, but my DD and GD#1 do not, and even though they don't want to know, at least they will know where to find out if they ever do want to know. Someday.
I do have another tut I'm developing on a fun bracelet made with shrinky dink plastic.... You're gonna love this one!  Keep watching for it.  Even I don't know when I'll finish it.
Love to you all, and to yours!
Terri

Friday, February 25, 2011

Little flowers and paper piecing tutorial

Hi Friends,
Welcome to my first tutorial...
First up - a pic of the little flowers I have done so far.  In honor of Exuberant Color I'll tell you that I found these rows (while cleaning - a lie!) that were previously made, and decided they would be perfect for the up coming Open House at our Project Linus coordinator's home in May. The quilts to be made for that day's challenge are to be pastel with a neutral - perfect, right?

Four rows of four with spacing white in between.  I'm making another row, so the quilt will end up the right shape... otherwise it'd be a square, and I prefer a rectangle.


You get a little view of the other project on the design wall - the stars and trees are still up there.  I've gotten bored with them, so turned my time to some boobs (not yet photographed) and these little flowers.  Here is where the tutorial starts.

Above is the pattern, on copier paper.  You need 4 of each of these to make one flower.  I know it's kind of blurry - sorry. #1 is the first space to use - (are we learning anything yet?)  Put the petal color onto the other side with the pretty side out....NOT towards the paper. I like to pin #1 onto the paper so I have hands free to align #2.

Put the fabric (in this case white print) onto the back of the #1 fabric - pretty side up and towards the pretty side of the #1 fabric.  Make sure it covers over the seam allowance by about 1/4 inch. Make sure the piece is big enough to flip up and over the seam-to-be to cover all of that #2 space and seam allowance.   Now sew (Use a stitch that makes about 15 stitches to the inch so that you can rip the paper off easily.) on the paper side, on the line between #1 and #2.  Make some back up stitches on each side of the seam line.


 Here is  the seam from the fabric side.
 Now fold back the new part of the seam allowance and cut the darker color just a little smaller than the lighter color... Only cut the seam allowance - we are doing this to keep the darker fabric from showing through the lighter and making a shadow through the lighter color. (DO NOT CUT THE PAPER!!!!!!!!!!!!)

 It kind of grades the seam allowance, too, so there isn't so much bulk.  See here the seam allowance (pink) is smaller than the lighter color seam allowance, and the paper pattern is still in tact.
Now flip the new piece up and press it out to cover the paper.

Flip it over to the paper side, and trim away all the excess - use the cutting line on the paper for a nice clean edge.
Do the same on all the other spots on the pattern... in this case #3 and #4.


 Here is one done of the four needed to make one flower.


Tomorrow I will show you how I put the 4 pieces together to make the flower.  I'm quite proud of the technique I use, which does not rely on a perfect 1/4 inch.
On another note:
I got these car liter bags from my hobby, he works for Yellow Book. Pinned to the ironing board next to the sewing machine, they are the perfect place for snippets and threads. I really am trying to keep the environment cleaner and  picked up.


Sew until tomorrow...
<3s to you all!
Terri

Saturday, February 19, 2011

Results of the FNSI

Hi All,
So I sewed!  Here's the pattern from a free pattern site, Sewhooked.


It is the phoenix, Fawkes, from Harry Potter... Sewhooked's interpretation as a paper pieced pattern. I love it!  I sewed it, and this is how this one looks. 

I've made him before, but of course they are all given away - right away.  This one is for a card for my BIL.  I made another Fawkes for a different (very different - British) BIL when he had a heart attack, and lived to tell about it.  To me they both rose from the ashes... This BIL is doing quite wonderfully. Coming back from a brain bleed, being blind and not being able to talk or move his right side... to talking and being able to see and eat on his own ... I call that rising!  DD is feeling better after her 5th chemo doses... some side effects that aren't pleasant, but she is handling it in an upbeat, positive way.  We knew she would.  Only one more to go.

So go over to Sewhooked if you want to paper piece some HP patterns.  It's fun..  There is another site that I'll call the friends of Sewhooked which links to other paper pieced patterns, some of Harry Potter, that were designed by Sewhooked's friends and that are copyrighted, also.  You can use them, just not to make something to sell.  Sewhooked does sell some patterns.  You can probably find it on either of these two links.

Well, that's what I sewed for the Friday Night Sew In, so I'll now get on with the rest of the day... see if the ladder can be used. We need to pick more of the oranges for sharing and juicing... we had a lot of rain in the past two days, and it may just be too dangerous to be up on a sinking ladder.  Maybe tomorrow.  It's my idea of heaven... up in the trees in the sunshine picking oranges or tangerines.  There are thorns, though.  I showed you the ones on the lemon.  Orange and tangerine have them, also.  But the fruit must come off soon, the trees are making flower buds, and once they open, there will be bees!  Danger Danger Danger!!!

Hugs to you all!
Terri
PS stop by the  Butterfly Effect today to see 11 more butterflies.  They are beautiful!  My buddy Nina
from Make a Boob has a very pretty butterfly there.  I've gotta get going on mine!  You can make one too.  They are taking any media, and anybody... even kids - since it is a remembrance charity for children, I think that is very appropriate.  In fact when you see the ones that are already sent in you will see the children do very well, and in lots of cases their butterflies are more beautiful!  So help out... you'll enjoy the creative outlet!


Friday, February 18, 2011

Friday Night Sew In

Tonight I'm joining a bunch of other bloggers on the Friday Night Sew In.  Go over to  Crafty Vegas Mom
and see how to do it.  You just sign up on her blog, then link to her blog in your post, (you can join in without a blog, but I didn't read that part)  then sew something... you can show it on Flikr or not.  I don't have a Flikr account, and at this point I just don't want to sign up for something else on this laptop - I'm afraid I'll fill it's silly little head with too much puddin'.  You know what I mean.  Nothing worse than a crashing computer.  Somehow they haven't figured out, or I haven't figured out, how full a machine memory is at any given point.  So any picture I might put on the net will be here at my post.  It's not a requirement.  (TV on Fridays is crappy, so I'd rather sew.)

This week my DD had her second to last chemo treatment.  (A very guarded Yeah!) I'm typing this with crossed fingers.  She usually feels better by Sunday - at least she has the other 4 times.  And my BIL had a stroke.  He is making remarkable improvements, so we are all rooting for him, too.  I went  for tests yesterday, and other than I am too sweet, I am doing fine.  (That was definitely expected, though.  I've been diabetic for over 11 years now.)  I hope you are all doing fine, too. Come on back to see what sewing I did.
Heart all you followers!   Thanks for stopping bye!
Terri

Friday, February 11, 2011

Folsom Quilt Show!!!!

Hi Friends,
I was so excited that this year to have  my camera with me to take pictures!  The Folsom Quilt Guild puts on the best show we have around here, and we have lots of shows that I have been to in the past.  I took 10 pictures and then the batteries died...  Anyway, without further adieu....
I don't usually like beige, or sampler quilts, but this one is lovely.  I didn't see any pattern repeats. Amazing!  Blocks are only about 6 inches.

I loved the optical illusion of this one.  I think the pattern is Corn and Beans.

I took this picture because of the yummy colors - more vibrant than the camera could capture.

And this one I love because of the small pieces of color. The binding is different prints with lots of color, too.

In person this bargello is flat - no really!  Isn't it amazing how wavy it looks just because of color and design. It seems even wavier on the photo because you have no reference to the edge.

These three are the same quilt.  It was so cheery in person, but I suppose my camera was starting to fail by the time I took these.


A close up of one of the flowers at the bottom of the above quilt.  Shows a little of the quilting on the right.

Here again vibrant colors that didn't come out on the photo.

Now this bargello has a reference to the edge, but still looks wavy and isn't.

Well, that is all the pictures I could get.  They also put on a quilted fashion show, and you will have to take my word for the fact that it was wonderful.  I visited all the vendors, and only bought some used magazines that were 6 for a dollar!!!!!!!!!!!  What a bargain. I've got lots to read now.

Also, I wanted to alert you to something we learned this week.  Keep a close eye on your money accounts.  We had a 65 cent withdrawal on our checking account on Thursday morning. (Not a scary amount, but the fact that we didn't take it out was!!!)  Luckily the bank sent us e-mail to check this amount out... for possible fraud. The bank said that someone had hacked into our account and withdrew the small amount looking to see if we would notice, and then they said the hacker would take out more and bigger amounts if nothing would be done about it.  I really don't understand why they wouldn't take a larger amount first, but the bank seemed to know all about this.... It was on my hubby's card, so he got a new one with a different number and that should foil the robbers.  Then he had to give his new number to the SS and his employer so that our auto deposits would make their way into the correct account.  Also, he had to give the number to automatic withdrawals for mortgage, newspaper and his health club.... all kinds of work.     Good Luck to us all.

Hey, thanks for stopping bye.  I really love getting comments.
Happy Weekend to you and yours!
Terri